Welcome to our tutorial about installing Hyper-V on your Dedicated Server with Windows Server 2016.
Step 1
Installing Hyper-V
After receiving the login information to your dedicated server you might want to find out how Hyper-V can be installed. Hyper-V is an additional Server-Role for Windows which can be added within the Server manager.
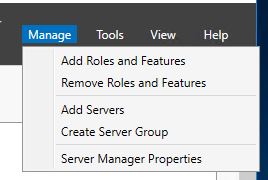
On the upper right side you will find the option “Add Roles and Features”
After clicking on that option a new windows will popup.
Navigate to “Server Roles” and select Hyper-V
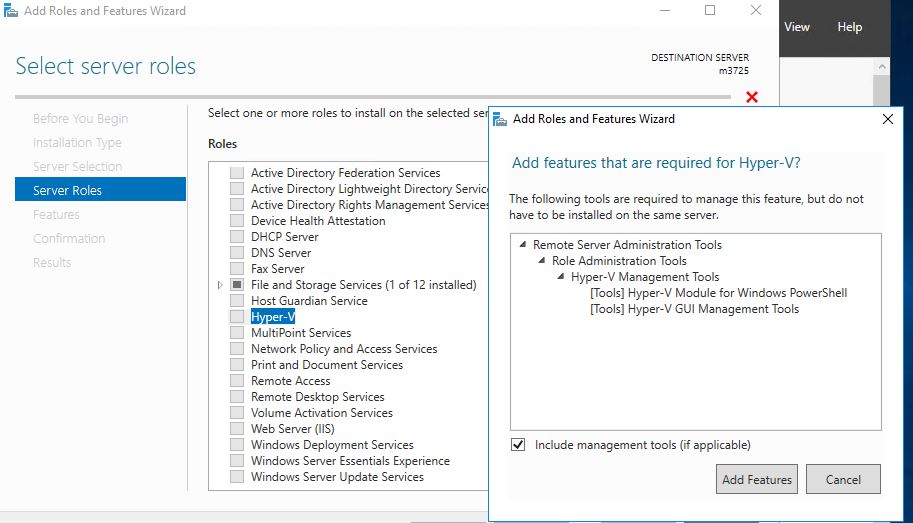
Now select the checkbox and click on next.
You will be asked if the install manager is allowed to automatically reboot your server.
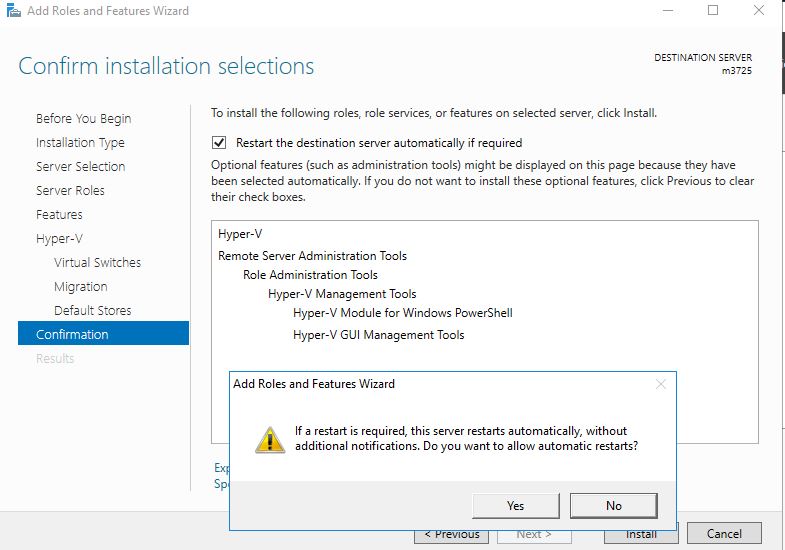
At least one reboot is required !
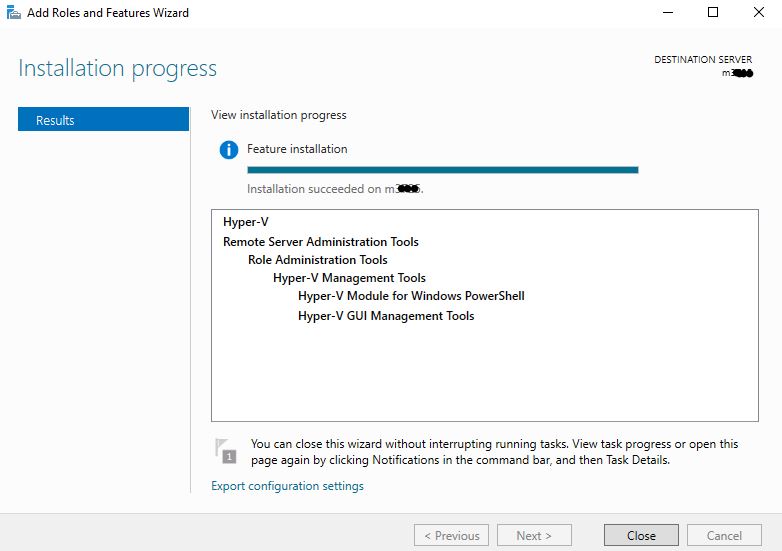
The installation can take up to one hour, depending on the rented dedicated server model and the storage configuration it might be completed within several minutes.
Step 2
Configuring Hyper-V
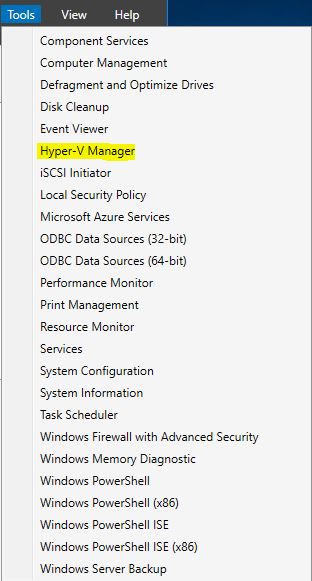
For configuration we are going to use the Hyper-V Manager, you can access this tool by clicking on “Tools” on the upper right side within your Server-Manager window.
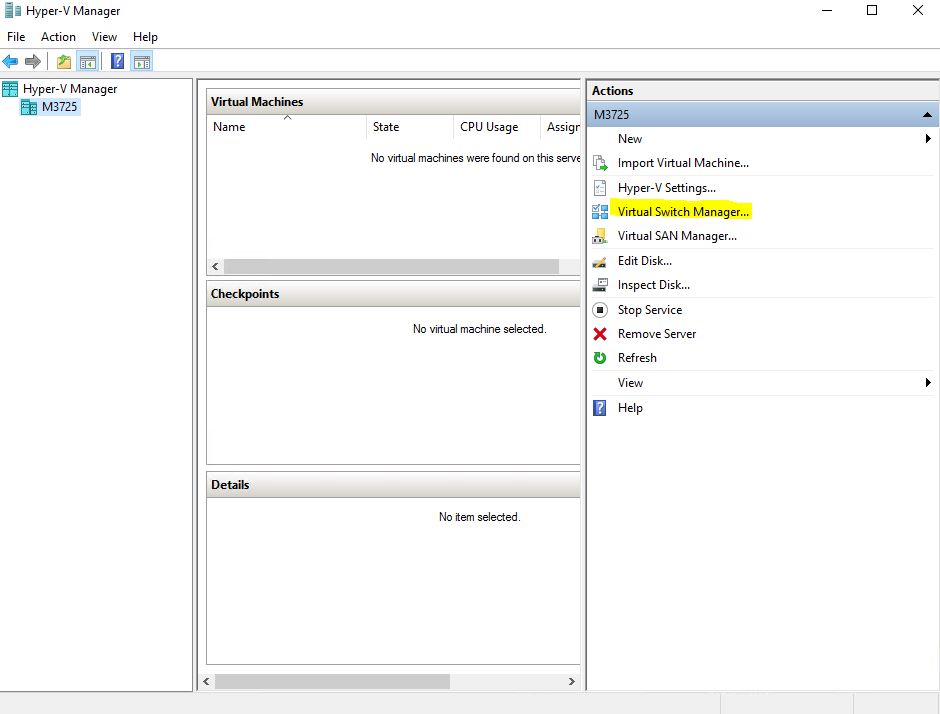
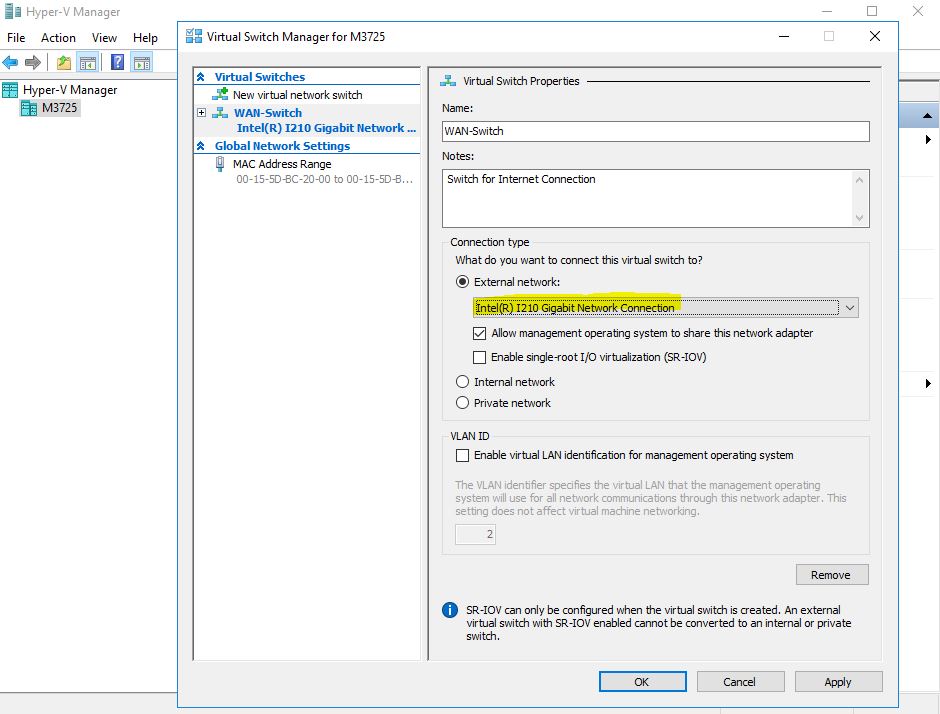
Before creating a virtual machine, we have to configure the network interface. Open the “virtual Switch Manager” to perform the necessary steps.
Now we are going to create a new external switch:
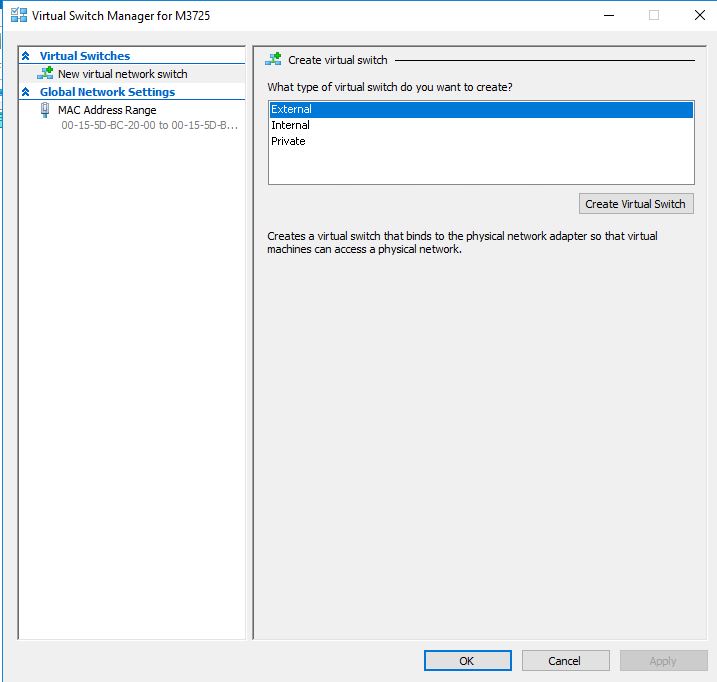
Enter a name and description (notes) of your choice.
Select the external network and make sure that the checkbox “allow management operating system to share this network adapter” was selected. If it was not selected your server might be inaccessible afterwards.
Step 3
Configuration of the Network
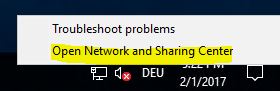
On the taskbar at the very right side you will see the network icon.
Perform a rightclick to open the following dialogue:
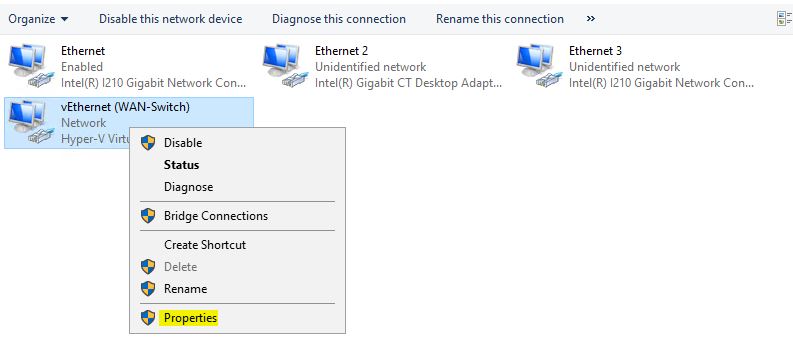
Another window will open, navigate to your network devices:
Now rightclick on the recently created network device and select “Properties”:
Select “Internet Protocol Version 4” and once more select “Properties”
Insert your Server’s IP-Configuration.
Please double check the information you are setting up, otherwise your server will be inaccessible.

Step 4
Creating a virtual machine
For now we are almost done, the next step shows you how to create a virtual machine.
Within the Hyper-V Manager select “New” to create a new VM:
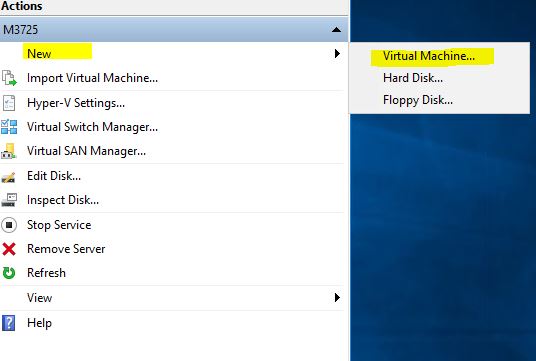
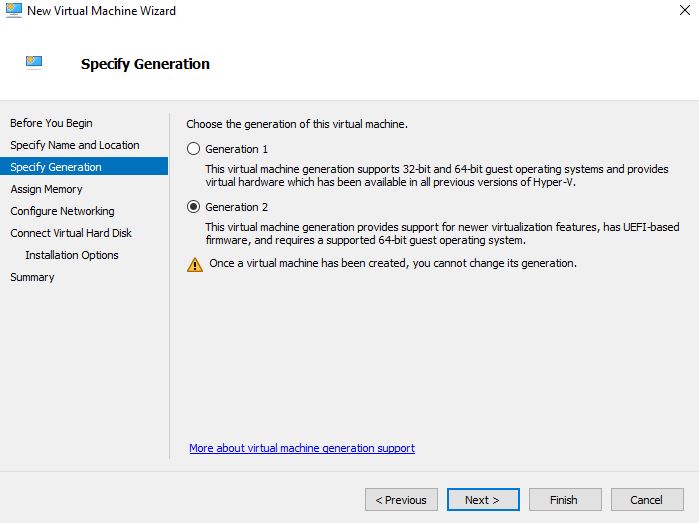
Configure the VM with your preferences:
Tip: Selecting “Generation 2″ for Windows 8 (Windows Server 2012) VMs and later will improve the performance.
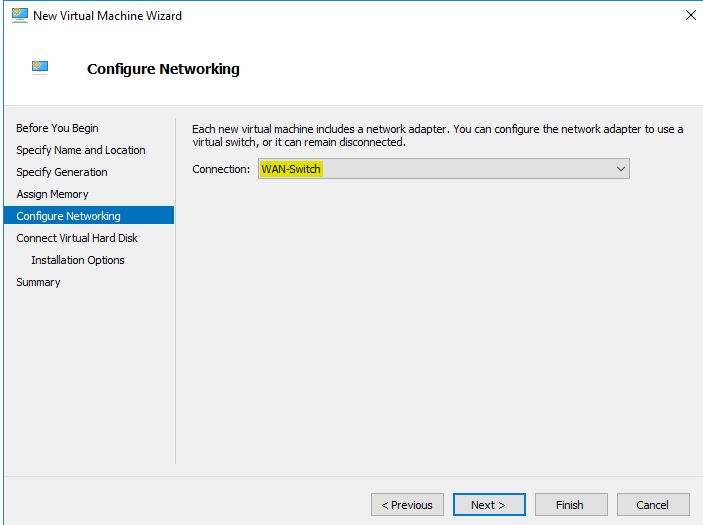
As network device you should select the Hyper-V Switch we have created before.
Select the .ISO you want to install and start the installation.
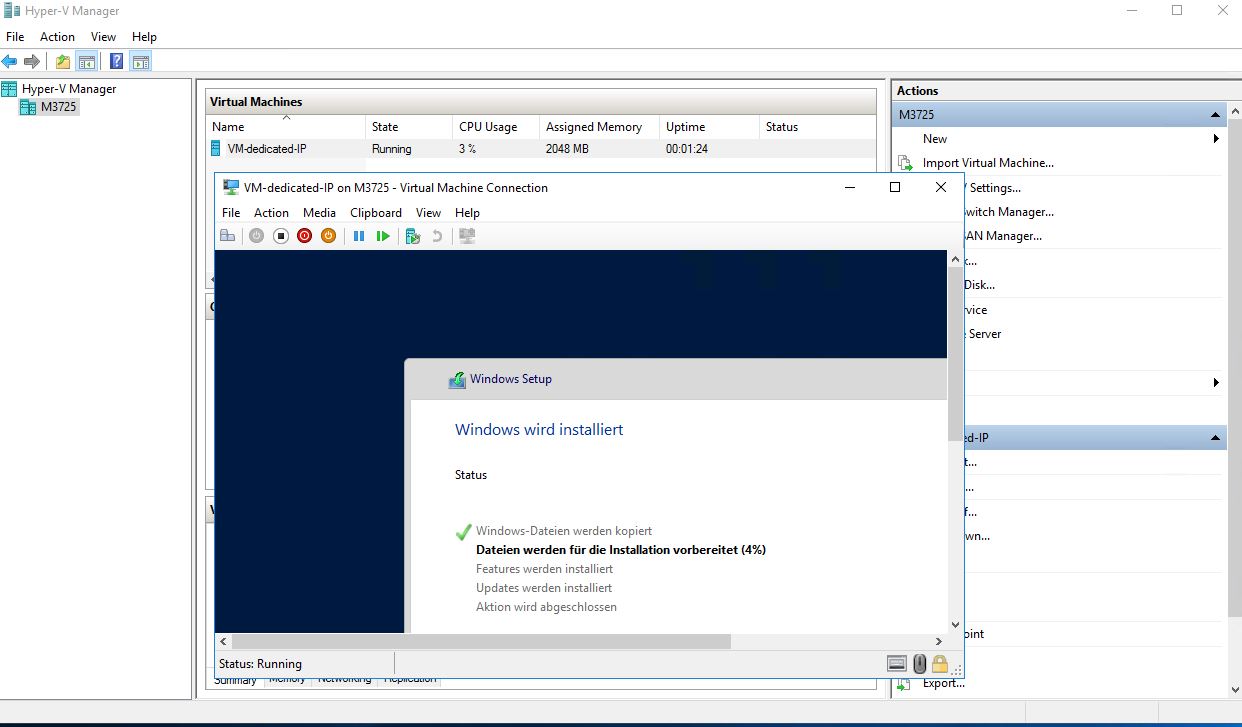
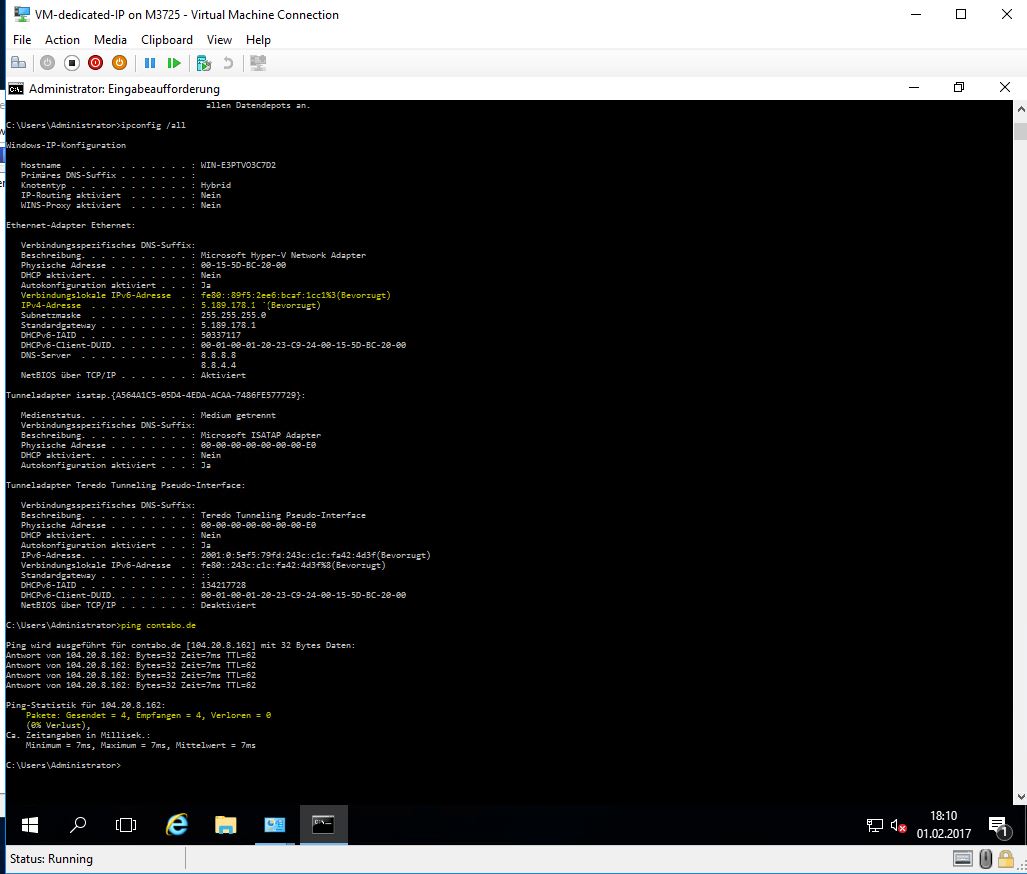
After the installation was completed you need to set up a public IP within the VM.
If you do not have any additional public IPs assigned to your account, please contact us at [email protected] to order additional IPs.
After a public IP was set up, your VM will be able to establish connections.