With this short tutorial we will show you how to upgrade your Plesk installation to Plesk Obsidian.
Before proceeding you should perform a backup of all important data. An upgrade always bears the risk of data loss.
On an SSD VPS you will have the ability to create a snapshot, creating a snapshot will give you the possibility to perform easily a rollback to the state “before upgrading”.
On any other VPS or dedicated server we recommend downloading all backup files to your local PC or to our FTP backupspace.
After you have saved all important data you will be able to continue upgrading:
Linux:
1. Login via SSH and use sudo -i to start a shell with “root” privileges
2. Type in the following command:
plesk installer
If this command is not working, you can download and execute the installer using the following commands:
wget http://autoinstall.plesk.com/plesk-installer
chmod +x plesk-installer
./plesk-installer
Windows:
1. Login via RDP and open the CMD.exe with Administrator rights (Windows-Key + R)
2. Type in the following command:
"%plesk_bin%"\ai.exe --console
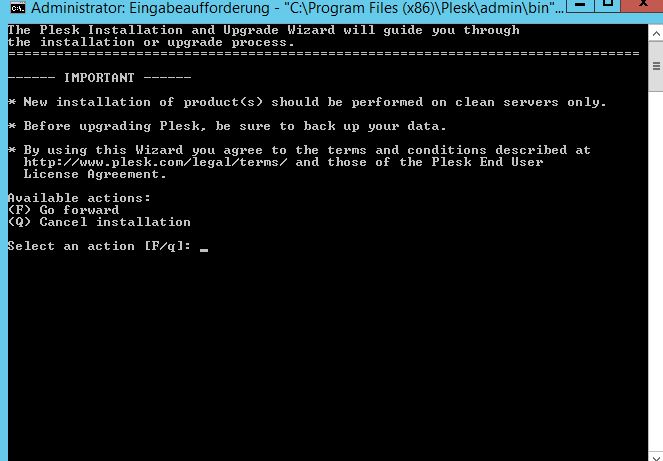
Once you have opened the Plesk Installer you will probably see a warning telling you to backup all your important files.
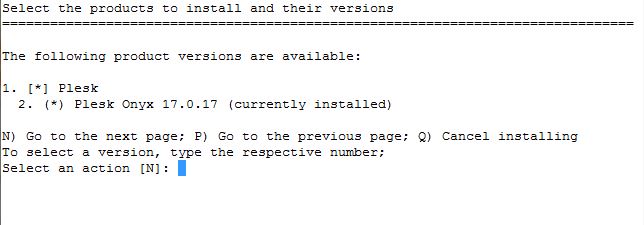
After you have agreed you should see something like the image below, there should be displayed your current version of Plesk; if you want to perform the upgrade you will have to select the right version by typing the correct number, in this case number 2. You can only upgrade to Plesk Obsidian from Plesk Onyx. So if you have an older Plesk Version installed, you will have to upgrade to Plesk Onyx first!
After typing in the number of your desired Plesk installation you will accept the download of those new packages. Please note that this step can take up to 30 minutes, it really depends on the Plesk extensions you have installed.

After the upgrade was completed you should verify that everything is working properly.
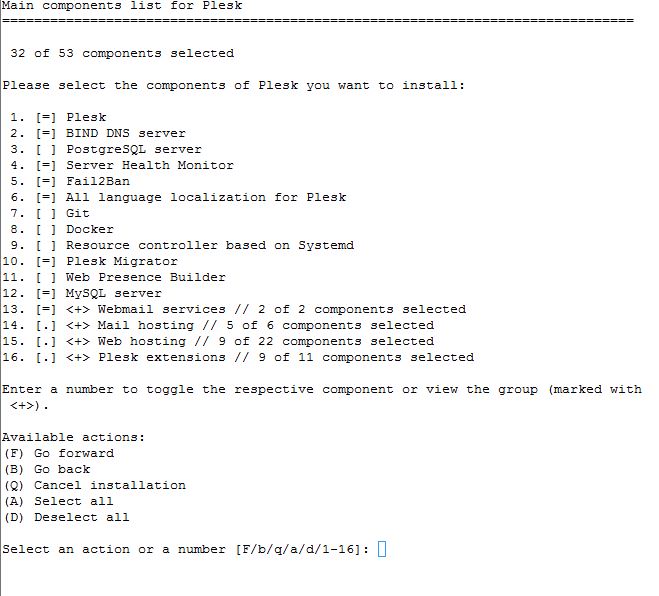
If you plan to install additional software or change some software you can of course run the Plesk Installer again and select the packages which should be installed.
We kindly ask for your understanding that analysing problems can be very difficult for us, in case you encounter issues after having added or removed some software through the Plesk Installer. In any case we recommend backing up all your files before making any changes to your Plesk installation.
By the way: Plesk offers tutorials about the upgrade process as well, just click here to access the Plesk University!
There is also the option to start a clean reinstallation of your server with the latest version of Plesk within your customer control panel, in this case creating a backup of your important data prior to the installation is vital, because all data stored on your server will be lost.